How To Create A Lightning Web Component | The Salesforce Developer Guide : krati vishnoi
by: krati vishnoi
blow post content copied from Forcetalks
click here to view original post
For this, you first need to have Visual Studio Code in your system. If you don’t have that then first install it.
After that, you need to open Visual Studio Code and open the command prompt using (Ctrl+Shift+p) or (command+shift+p) for windows and Mac OS respectively.
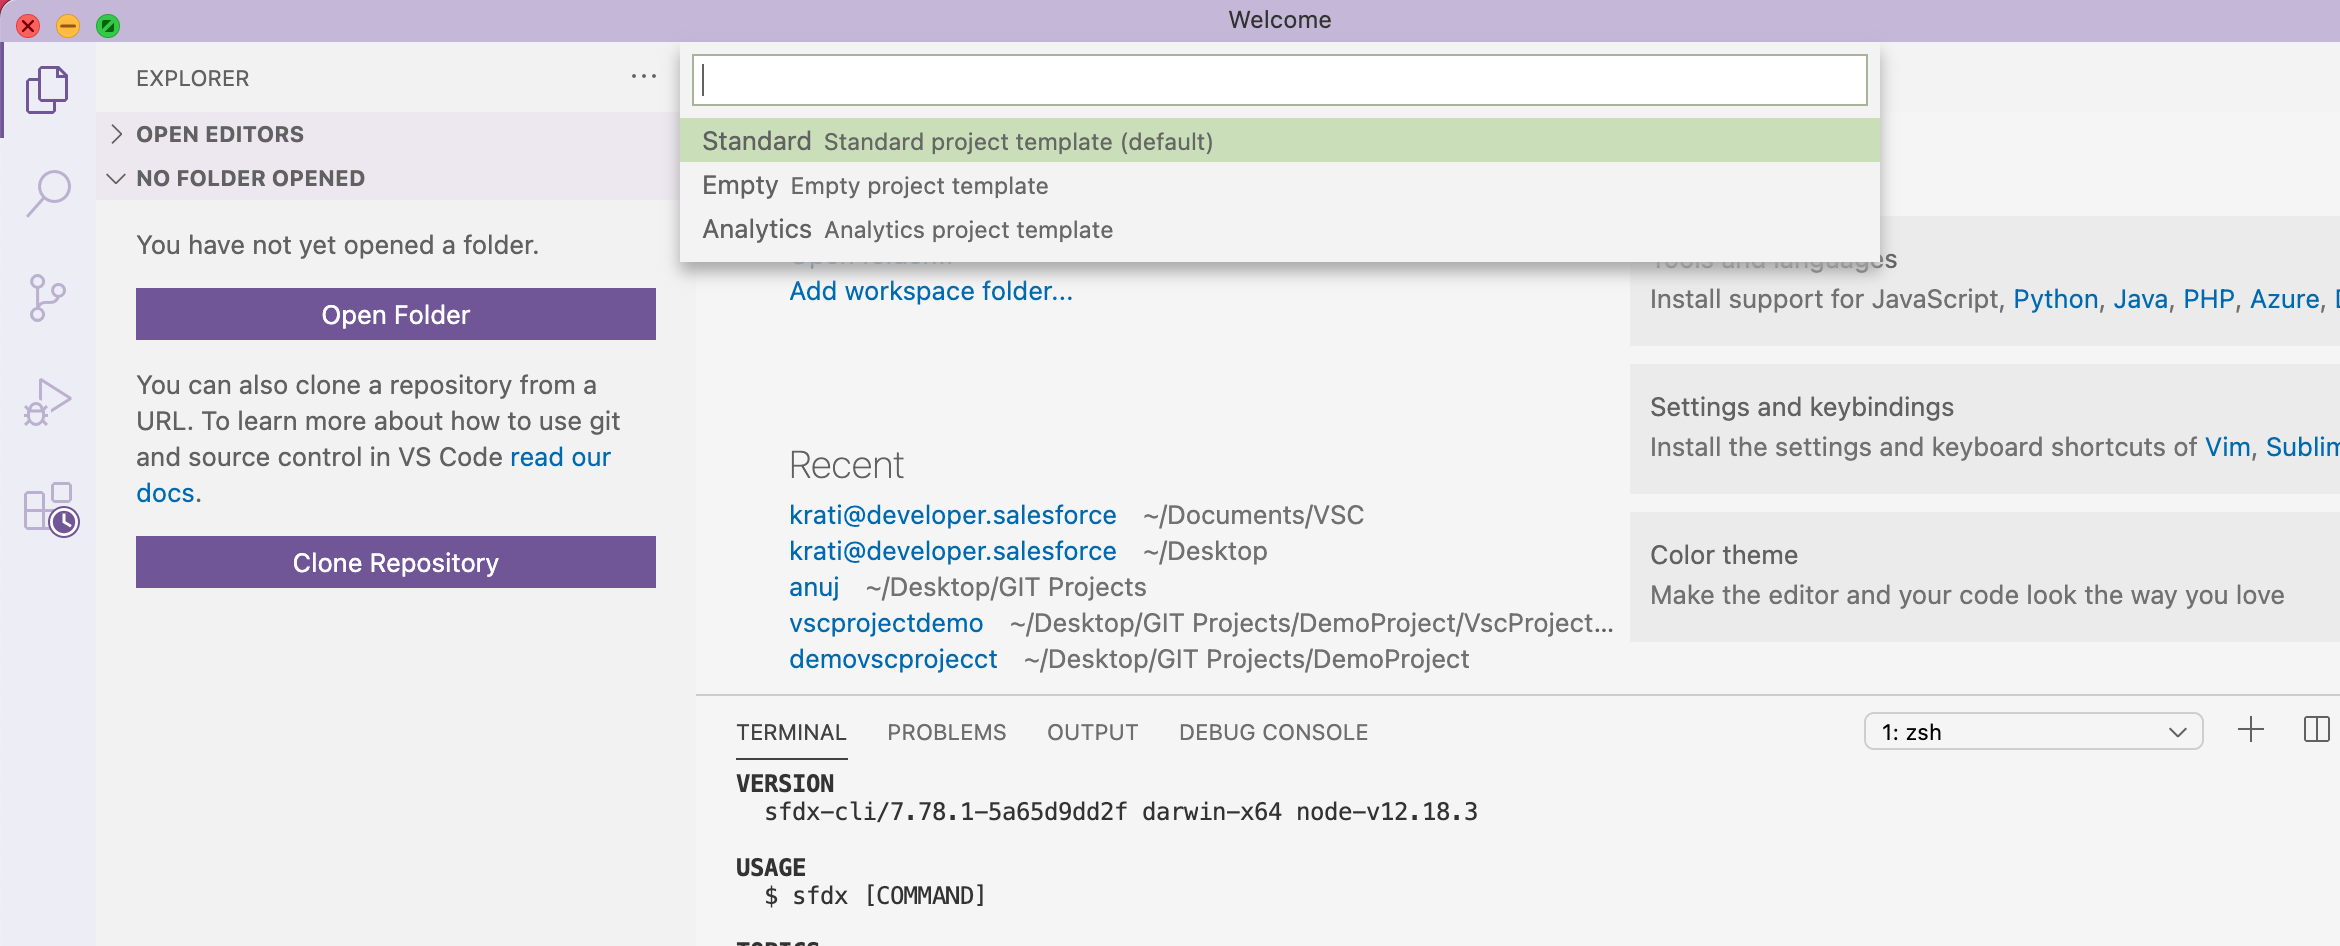
Step 1: Create a Project, In the command prompt enter >sfdx, it will show the options to create, select >SFDX:Create Project

Step 2: Select Standard Project Template
Step 3: After that enter your project name

![]() Don't forget to check out: Call Lightning Web Component From a Quick Action in Salesforce
Don't forget to check out: Call Lightning Web Component From a Quick Action in Salesforce
Step 4: Now, you have created your project, but you need to Authorize the org, which means, whatever task you are performing, you need to reflect that on your Salesforce org, for this you need to connect visual studio code to your Salesforce org.

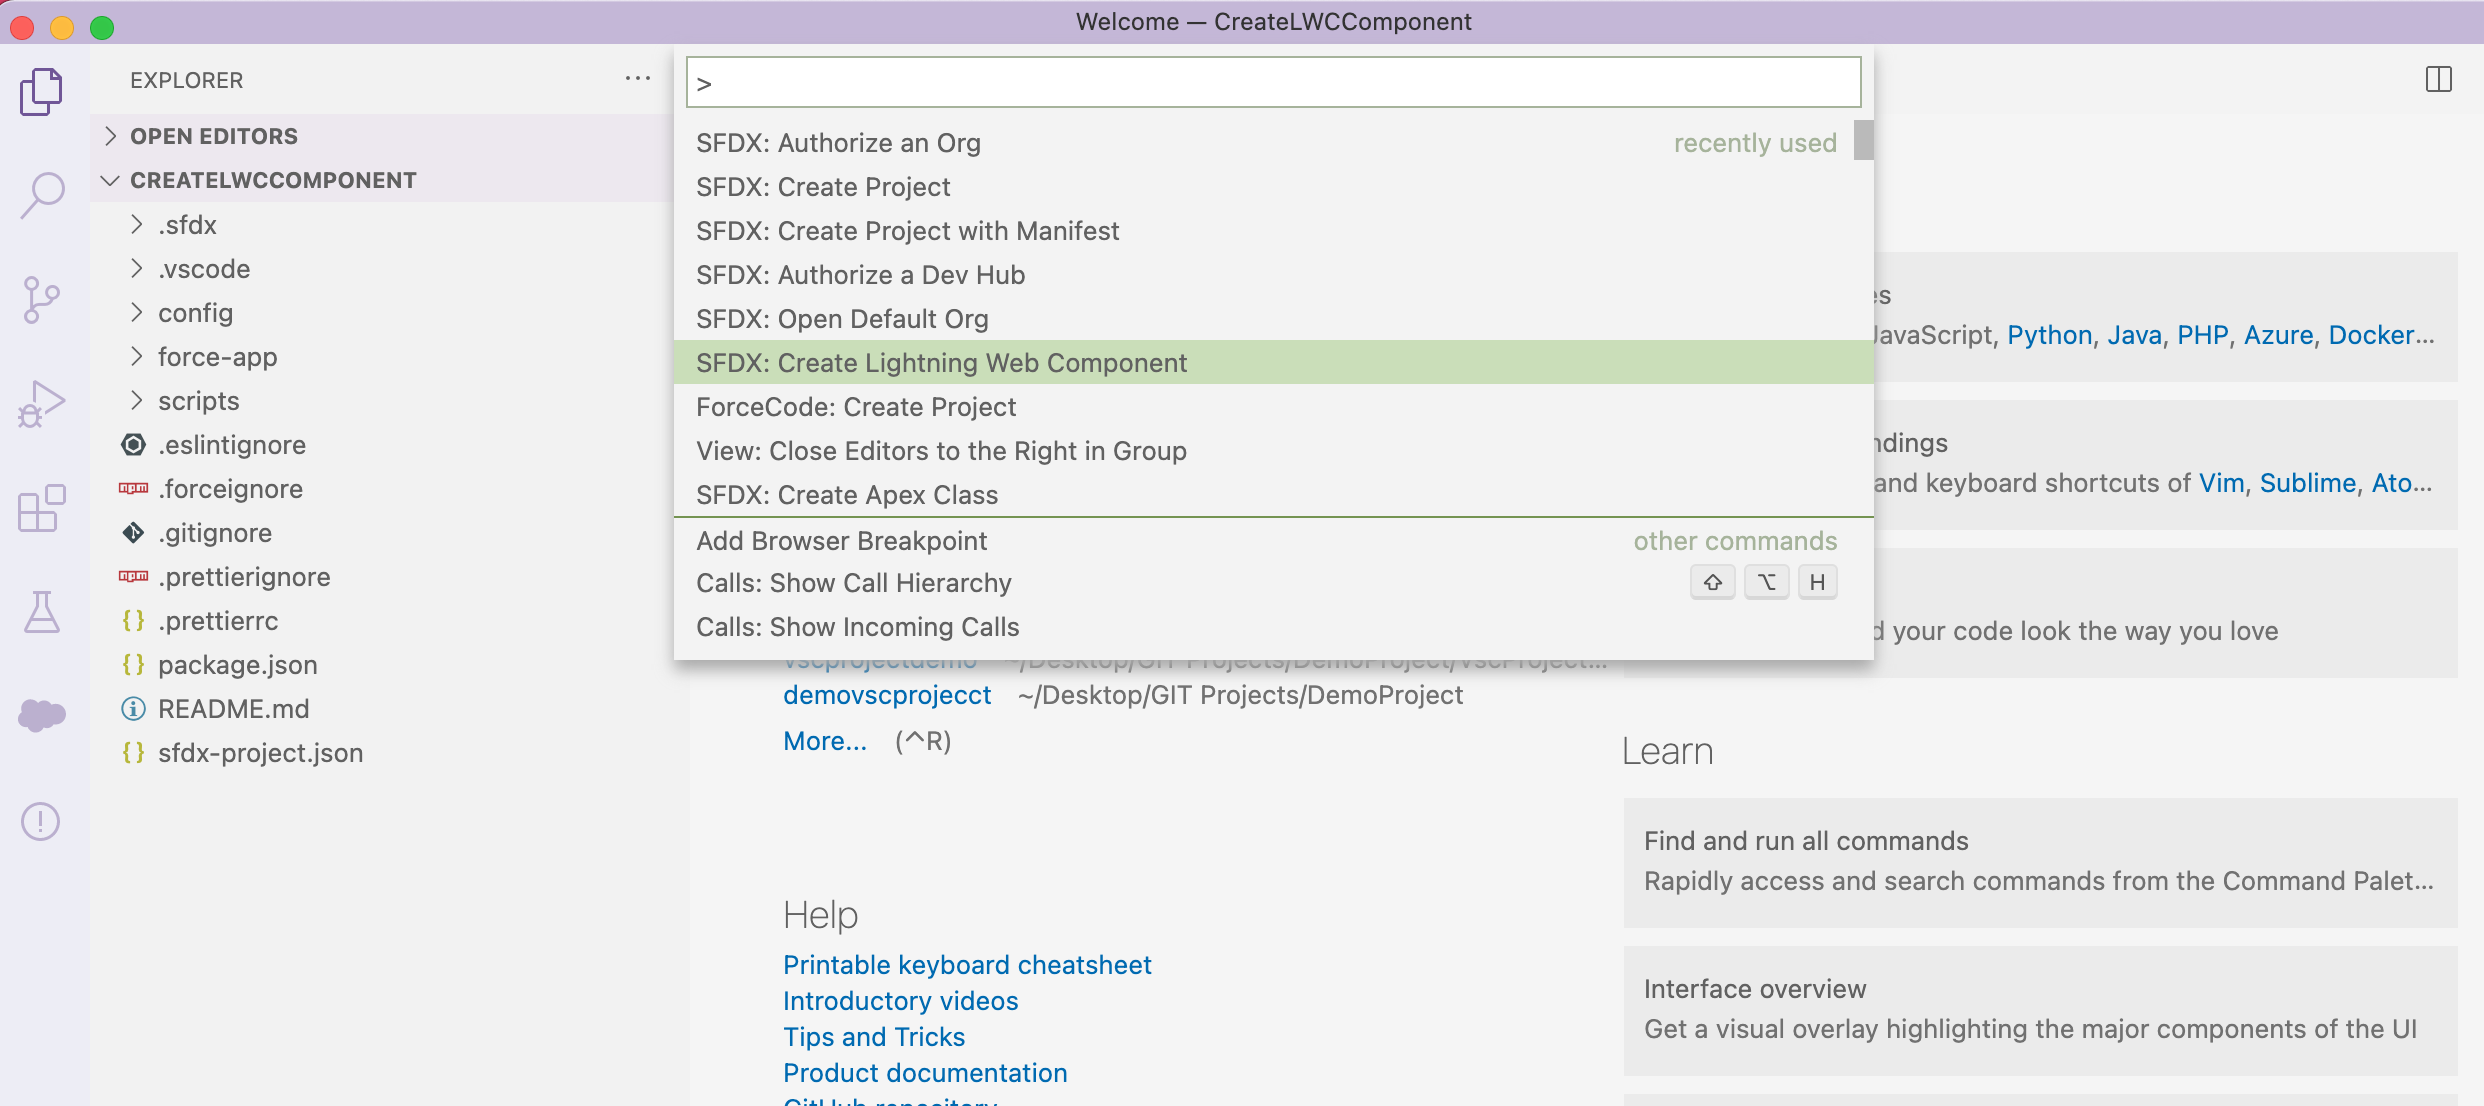
Step 5: After you have Authorized your org, you need to go to once again open command prompt and enter create lightning web component, select this and your LWC is created.


Step 6: In your LWC component .html file
Enter the following code:
<template>
   <lightning-card title="First LWC" >
     <div>
       <p>This is my, {EnterPhrase}!</p>
       <lightning-input label="Name" value={greeting} onchange={changeHandler}></lightning-input>
     </div>
   </lightning-card>
 </template>
In your .js File enter the following code:
import { LightningElement } from 'lwc';
export default class First_LWC extends LightningElement {
    EnterPhrase = 'First LWC';
    changeHandler(event) {
        this.greeting = event.target.value;
    }
}
And at last, in .xml file
<?xml version="1.0" encoding="UTF-8"?>
<LightningComponentBundle xmlns="http://soap.sforce.com/2006/04/metadata" >
   <apiVersion>50.0</apiVersion>
   <isExposed>true</isExposed> <!-- true, so that LWC can be visible-->
   <targets>
       <target>lightning__AppPage</target>
       <target>lightning__RecordPage</target>
       <target>lightning__HomePage</target>
     </targets>
</LightningComponentBundle>
![]() Check out another amazing blog by Krati here: Displaying Field According to Its Datatype In Salesforce Lightning Component
Check out another amazing blog by Krati here: Displaying Field According to Its Datatype In Salesforce Lightning Component
After this, once again send the changes to your org, but this time you need to deploy this component to the Salesforce org.

Step 7: Now, to test how your LWC works, if you do not wish to add this on your org UI and simply want to test it, then go to your developer Console and create a Lightning Application.

Enter the following and click on preview.
<aura:application extends="force:slds">
    <c:first_LWC/>
</aura:application>
Here is the result!

In the name section, you can change the text, and accordingly, it will show you the output text.
The post How To Create A Lightning Web Component | The Salesforce Developer Guide appeared first on Forcetalks.
January 06, 2021 at 09:47PM
Click here for more details...
=============================
The original post is available in Forcetalks by krati vishnoi
this post has been published as it is through automation. Automation script brings all the top bloggers post under a single umbrella.
The purpose of this blog, Follow the top Salesforce bloggers and collect all blogs in a single place through automation.
============================

Post a Comment